Introduction
As summer time tactics, the sweltering warmness can make life uncomfortable with no a reputable air con gadget. Whether you’re seeking to buy an air conditioner online or deploy one you already personal, knowing how to appropriately install an AC unit is principal. This e-book presents a comprehensive tick list for DIY air conditioner installation, ensuring you have your entire details you want to store your private home cool and comfortable.
This article will duvet all the pieces from picking out the precise measurement of AC unit to expertise what kind of air conditioner suits your wishes supreme. We’ll additionally delve into the major steps interested in setting up and upkeep, aiding you restrict normal pitfalls. So, permit’s dive in!
A Complete Checklist for DIY Air Conditioner Installation
Installing an air-con unit would possibly seem to be daunting at first, yet with the true guidance and knowledge, it is able to be a sincere technique. The following tick list breaks down the mandatory steps and issues for a winning install.
Understanding Your Needs
What Size of AC Unit Do I Need?
Choosing the fitting dimension of your air-con unit is critical for most fulfilling efficiency. An undersized unit will fight to cool your space, even as an oversized one may well cycle on and off too continuously, most appropriate to inefficiency.
- Calculate BTUs Needed: The cooling capacity of AC models is measured in British Thermal Units (BTUs). To work out what percentage BTUs you need: Measure your room dimensions (length x width). Multiply complete sq. footage via 20 BTUs.
Example: For a four hundred sq feet room:
four hundred sq https://simonmchc316.bearsfanteamshop.com/a-homeowner-s-guide-to-understanding-refrigerants-and-their-impact-on-efficiency feet x 20 BTUs = 8,000 BTUs is required.
How Do I Know What Type of Air Conditioner to Buy?
The variety of air conditioner you select is dependent on different factors which includes budget, room design, and personal choices. Here are some straight forward sorts:
Window Units: Affordable and effortless to install; terrifi for unmarried rooms. Split Systems: More effective; satisfactory for cooling numerous rooms. Portable Units: Versatile; best once you need mobility. Central AC Systems: Best for better residences requiring whole-apartment cooling.Gathering Tools and Materials
Before beginning your setting up project, verify you've the whole important tools:
- Screwdrivers (flathead and Phillips) Measuring tape Level Power drill Circuit tester Safety goggles Duct tape Insulation tape
Preparing for Installation
Selecting the Right Location
Choose a situation that maximizes efficiency. Ideally, position your unit in a shaded arena that avoids direct solar which will keep performance.
Checking Electrical Requirements
Ensure that your electrical machine can control the burden of the brand new AC unit:
Confirm voltage standards (most items require both 115V or 230V). Check circuit breakers to make certain they tournament necessities. Consider hiring an electrician while you're undecided approximately electric work.Installation Steps
Step 1: Preparing the Space
Clear out any limitations the place you'll install the AC unit. If that's a window unit, eliminate any screens or obstacles briefly.
Step 2: Installing Window Units
For window items:
Place the unit on a flat floor previously lifting it into role. Ensure suited sealing with climate stripping or insulation tape. Secure brackets according to corporation commands. Use a stage to make sure that it's rather tilted outward for proper drainage.Step three: Setting Up Split Systems
For break up strategies:
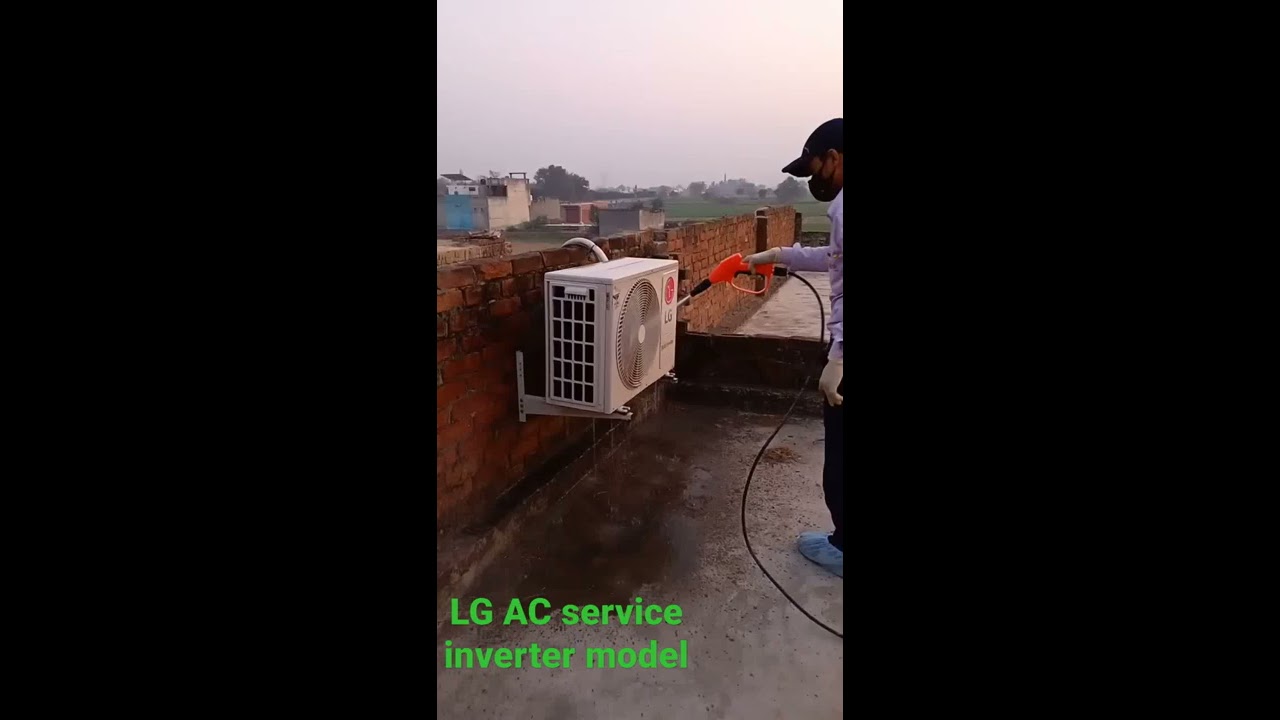
Install indoor parts on partitions clear of direct daylight. Drill holes for refrigerant traces simply by walls. Connect indoor and outside devices as according to brand pointers.Testing Your Installation
Once established, it’s time to check your new AC device:
Turn on vitality at circuit breaker. Set thermostat to preferred temperature. Check airflow because of vents; pay attention for extraordinary sounds which can point out points.Maintenance Tips Post-Installation
Maintaining your AC system not most effective prolongs its lifestyles however ensures helpful operation:
Change filters mainly (each and every 1–3 months). Clean condenser coils as soon as in keeping with season. Schedule reputable inspections once a year.Frequently Asked Questions
1. Can I Install My Own AC Unit?
Absolutely! Many home owners correctly tackle DIY installations with cautious making plans and adherence to protection protocols.
2. How Long Does It Take to Install an AC Unit?
Typically, it takes about three–6 hours based on the style of unit and earlier expertise.
3. Do I Need Permits for Installation?
Check nearby policies as allows could also be required centered on neighborhood development codes.
four. What Should I Do if My AC Isn’t Cooling Properly After Installation?
If cooling disorders occur post-installing:
- Check if filters are blank, Ensure home windows are sealed, Review install instructional materials for correct setup.
5. Is It Cheaper to Hire Professionals Than Doing It Myself?
While hiring pros incurs hard work bills, DIY can shop dollars in case you're professional and observe guidance rigorously.
6. Where Can I Find The Best AC Companies in Canada?
You can to find reputable businesses indexed at ACprices.ca, which serves as an intensive listing of first-rate service companies across Canada.
Conclusion
In summary, installation an air con unit doesn’t need to be overwhelming with our complete guidelines handy! By knowledge your necessities— from sizing up your space effectively to deciding upon suitable gear— and adhering closely to each one step outlined above, you might be good on your way closer to having fun with a cool sanctuary throughout the time of those sizzling summer days.
Whether you might be installation a window unit or settling on extra frustrating cut up structures, this book has in a position you with priceless insights into triumphant setting up practices whilst additionally emphasizing ongoing repairs demands— guaranteeing long-term satisfaction with your investment in alleviation!

Now that you simply've were given all this guide at your fingertips—are you in a position to handle that DIY task with a bit of luck? Remember always prioritize safe practices! Happy cooling!